It is not that often that I need to make a double pie crust recipe. My husband was in the mood for a cherry pie and I did not have a good flaky pie crust recipe that adhered to his recent sugar-free and no-grains “please” preference. I also receive a fair share of requests for a nut-free flaky pie crust via email. It was a fun challenge so I was up for it.
Since I have been playing around with cassava flour, sweet potato flour and even banana flour as alternatives to nut flours, I soon came up with a pretty darned good flaky pie crust. For this recipe I used Otto’s Naturals Cassava Flour. I have a few others in the works and they are looking pretty good so far too. I like to achieve “perfect” though!

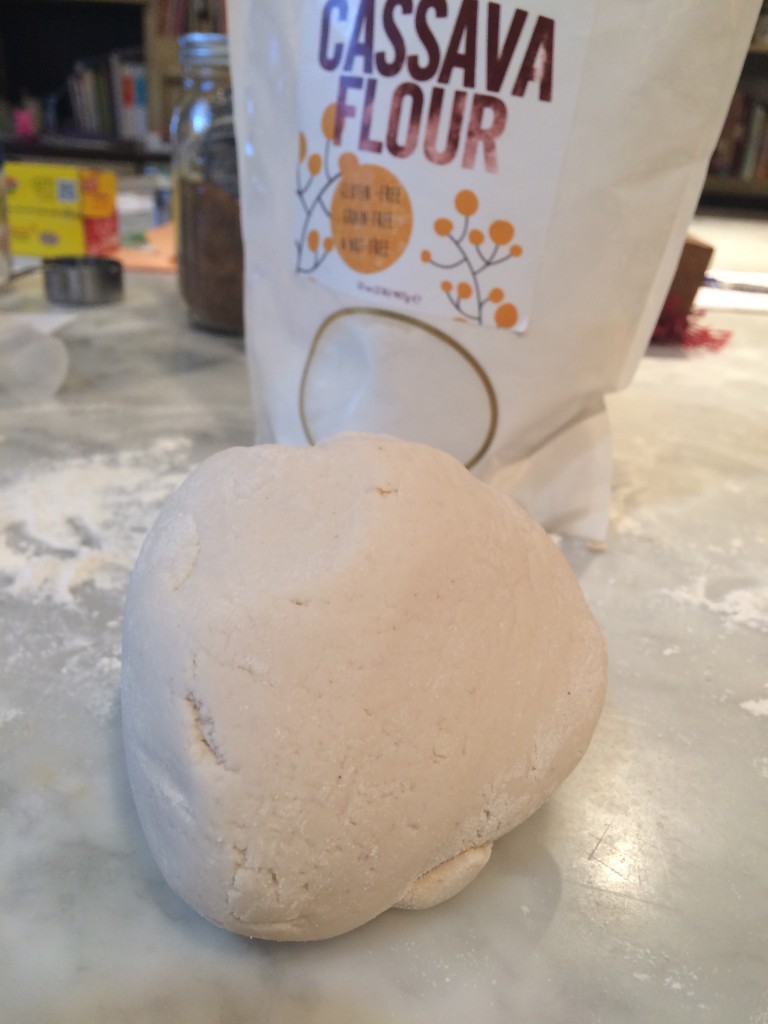
Just about time to refrigerate the dough.
Here’s a little hint about a good pie crust: the better quality, cold and organic grass-fed butter you can use, the better your crust will taste and flake. I also love to use Spectrum Vegetable Shortening; yes it is paleo friendly. Often I will do half of one and half of the other or one third of one and two thirds of the other. Now that Spectrum has a butter-flavored version, this opens the door to much more fun.
Enjoy and be sure to send me photos of the pies you make! Also, if you’d like to check out another one of my nut-free recipes that I made with Otto’s Naturals Cassava Flour, have a look at my yeast-free crispy pizza crust.

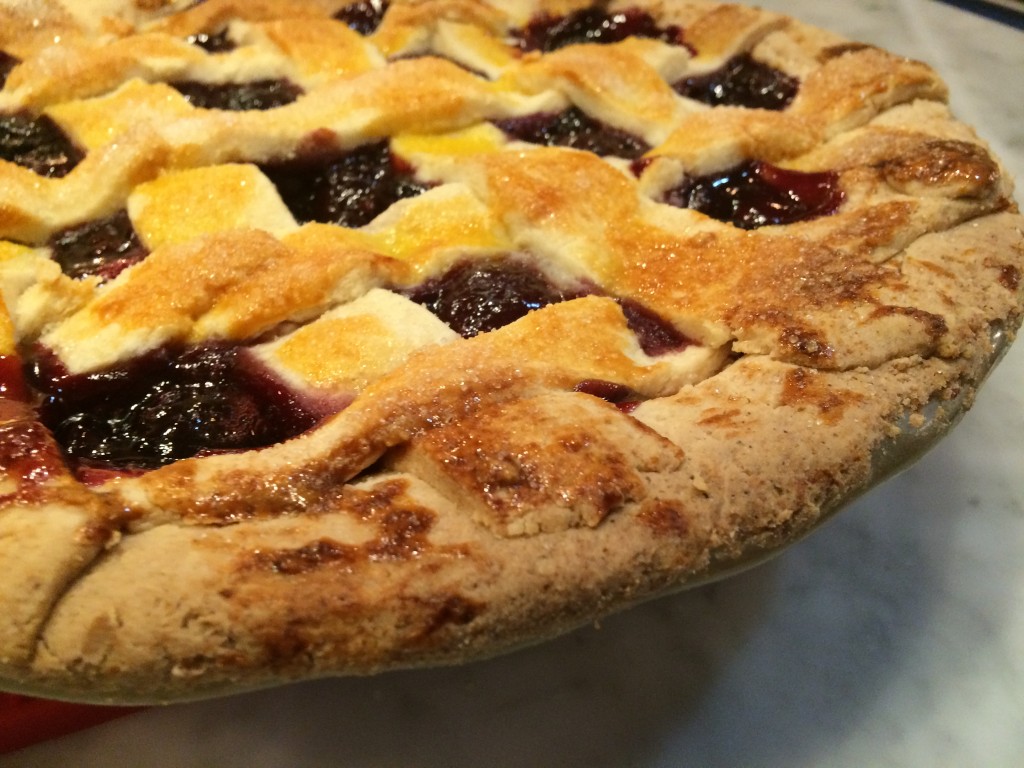
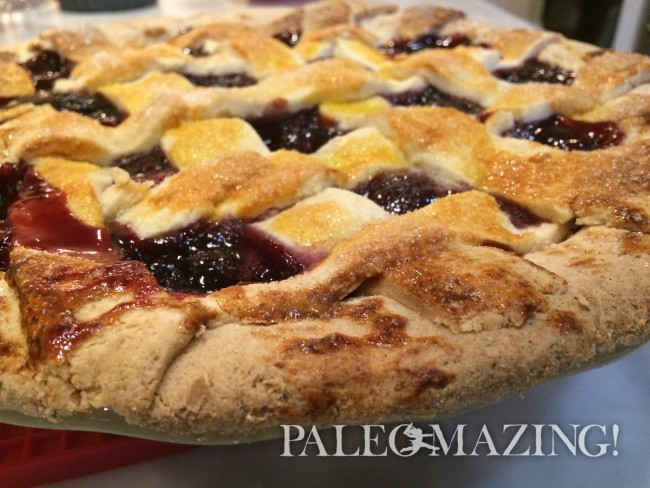
The beautiful end result! My husband’s favorite!
Print
Nut-Free Flaky Pie Crust
Description
Think flaky and think yum! Here’s a little hint about a good pie crust: the better quality, cold and organic grass-fed butter you can use, the better your crust will taste and flake. I also love to use Spectrum Vegetable Shortening. Yes it is paleo friendly. Often I will do half of one and half of the other or one third of one and two thirds of the other. Now that Spectrum has a butter flavored version, this opens the door to much more fun.
Ingredients
- 2 ¼ cups Cassava Flour (I used Otto’s Naturals)
- 1/8 teaspoon salt
- ¾ cup COLD unsalted butter or ½ butter and ½ COLD Spectrum Butter Flavored Vegetable Shortening
- 12–13 tablespoons VERY cold water
Instructions
- Mix salt and cassava flour in a wide mixing bowl.
- Add the cold butter (or COLD butter and then COLD shortening) using two knives to cut them in together, slicing scissor-like until small tiny pieces form, like tiny peas. It will take a while, so you’ll need to be patient.
- Slowly add water just 1 tablespoon at a time. You’re trying to now mix the dough into a firm ball.
- Once it starts to turn into a ball, cut the dough in half, wrap in plastic wrap and place in refrigerator for 30-45 minutes.
- Turn onto a lightly floured board and roll out into two rounds. You may need to break and form as you roll. Remember you are working with a gluten-free flour.
- Very carefully transfer to your pie dish and fill with your filling of choice.
- Use the other round as your top crust or slice it up into strips for a lattice design, or make into decorations using your knife or cut-outs.
- Enjoy!
Notes
You can also pre-bake the bottom of this crust. The length of time it takes to pre-bake it depends on how you like your crust. I do find this flour to be a bit finicky and it is not the normal type of nut flour, or paleo flour or even gluten-free flour to bake with. I bake my pies at 350-375F.
If you have any questions or suggestions, email me at Info (at) TinaTurbin (dot) com


Made this today and it was SO good! Only issue was the recipe not being clear on how long to bake it after filling it with ingredients. We used it for an apple pie. Baked for 15 at 450 then 45 at 350. Worked perfectly. Flaky just how we wanted! Thank you! <3
★★★★★
Hi Cristal,
So happy to hear the recipe worked out so well! The cooking time really varies on what you have inside of it and how wet the filling is, if you use a crust on top, etc. Thanks for the tip on 15-450 and 45-350 for your mouth watering apple pie 🙂
Tina, I am so sorry to report that this pie crust was an epic fail for me at our Thanksgiving dinner. What went wrong? I followed your recipe using Otto’s flour, cold butter right from the fridge, cold water chilled with ice cubes. I cut in the butter with two knives and finished it to a gravely consistency by rubbing between my fingers. I added the water one tablespoonful at a time until it held together, then divided it and made two pies. Instead of rolling it, I pressed it into the pie dish, which is faster and easier for me. I did prick the bottom and pre-bake for 7-8 min. at 350, then filled with the pumpkin mixture and baked at 350 for 50-55 min. After cooling for several hours, the final product looked great and the filling was fine, but the texture of the crust was somewhere between tough boot leather and plaster of paris. It was very hard to cut through and impossible to chew. I am rating it one star for the fact that it did look nice.
Can you tell me anything I might have done to ruin it?
★
I am so sorry to hear this! I will say that this crust is best if consumed soon after it is made. Due to it being only cassava flour, it dries out quicker which can lead to it getting harder quicker. Be sure not to overcook it too as that could dry it out as well. I have many other crust recipes too so feel free to try those out if this one isn’t working well for you.
Can I use this to make Pumpkin pie? If so, what temperature & how long do I bake?
Yes you could. I would precook your crust slightly ahead of time though. Another person commented that they used it for apple pie and baked the crust 15min at 450 degrees and then filled it and baked it more. I would try baking it at 450 degrees for 15 min. Then fill the crust with your pumpkin mix and put foil on the crust edges so they don’t burn. For baking the rest of the pie I would follow whatever pumpkin recipe you are using. Best of luck!